How to install Sunshine on Ubuntu: The best alternative to Parsec for Linux
Overview
If you’ve tried to use Parsec on Linux, you’ve probably noticed a limitation — while you can connect to another PC using Parsec, you can’t host a session from Linux. Parsec’s host software relies on Windows and macOS GPU APIs for its real-time video encoding, and those APIs aren’t available on Linux.
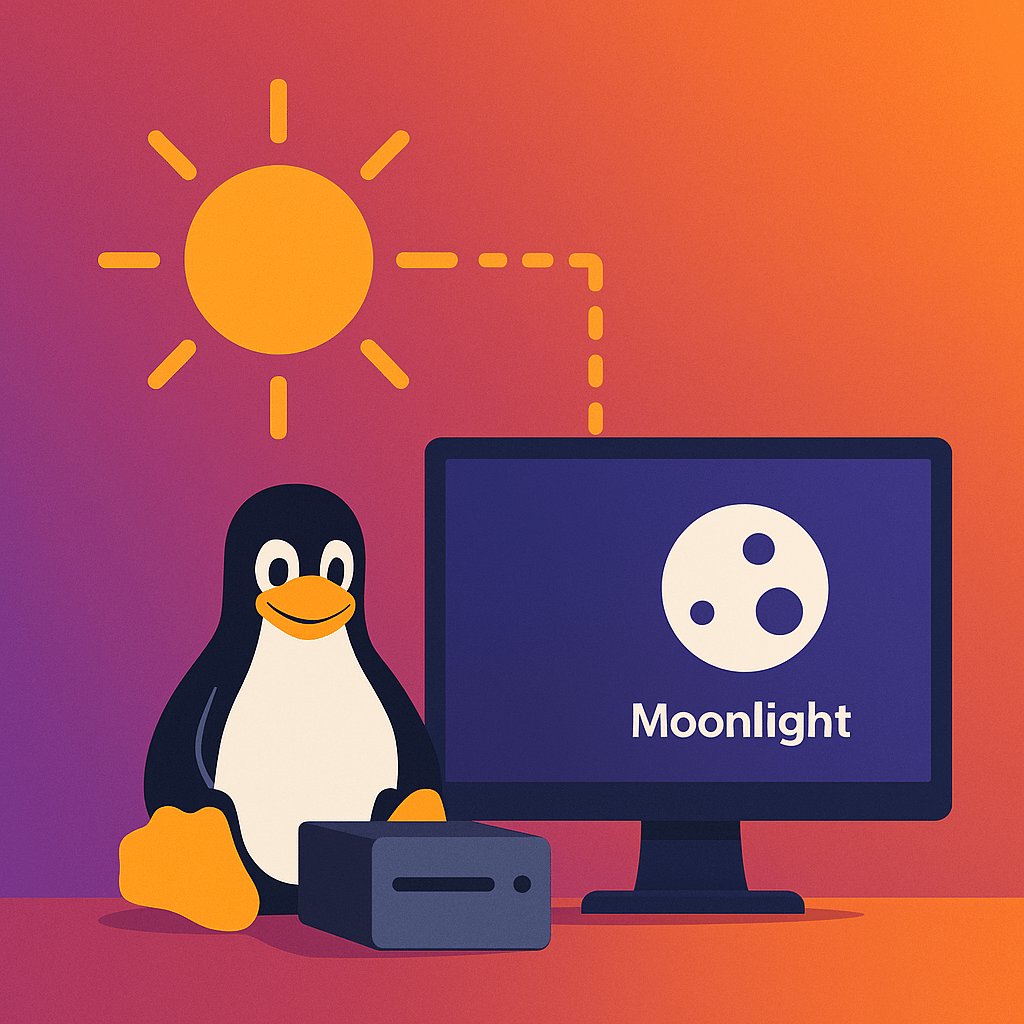
Fortunately, there’s a fast, open-source alternative called Sunshine. It works as a host on Linux, macOS, and Windows, and it’s fully compatible with the Moonlight client — offering Parsec-level streaming performance with hardware-accelerated encoding, low latency, and smooth graphics.
What You’ll Need
- Ubuntu 22.04 or later (this guide uses Ubuntu 24.04 LTS)
- A dummy HDMI plug if you plan to use it headless
- A GPU with hardware video encoding support (NVIDIA, AMD, or Intel iGPU)
- Internet connection for downloading Sunshine
Step 1: Update Your System
Open your terminal and run:
sudo apt update && sudo apt upgrade -y
Step 2: Download the Sunshine .deb Package
The easiest and most reliable way to install Sunshine on Ubuntu is by using the official .deb package from its GitHub releases page.
Run the following command to download and install it:
wget https://github.com/LizardByte/Sunshine/releases/latest/download/sunshine-ubuntu-24.04-amd64.deb
sudo apt install -y ./sunshine-ubuntu-24.04-amd64.deb
This method automatically installs all required dependencies and adds Sunshine as a system service that you can start manually or enable to run at boot.
Step 3: Launch Sunshine
Once installed, start Sunshine by running:
sunshine
When you launch it for the first time, Sunshine will display a link similar to this:
Sunshine listening on https://localhost:47990
Open that URL in your web browser (on the same machine). You’ll be prompted to log in using the default credentials provided in the terminal window. It’s best practice to log in once, then change your password from the Security tab.
You can leave all other settings at their defaults — Sunshine works great out of the box.
Step 4: Pair with Moonlight
On your client device (Windows, macOS, iPad, or Android), install the Moonlight app from moonlight-stream.org.
Ensure both devices are on the same network, then open Moonlight — your Ubuntu host should appear automatically. If it doesn’t, click Add PC and enter your Ubuntu PC’s local IP address (use hostname -I to find it).
Once the pairing request appears, accept it in the Sunshine web interface, and you’re ready to connect.
Step 5: Optional – Enable Autostart
If you’d like Sunshine to start automatically on boot, enable its system service:
sudo systemctl enable sunshine
sudo systemctl start sunshine
This ensures Sunshine runs every time your Ubuntu PC starts, making it ideal for a headless setup with a dummy HDMI display adapter.
Conclusion
That’s it! You’ve successfully installed Sunshine on Ubuntu using the best practice method — via the official .deb package with default settings. This setup provides a lightweight, high-performance remote desktop host that rivals Parsec, but with full Linux compatibility.
Simply connect with Moonlight on your other devices, and you’ll enjoy smooth, low-latency access to your Ubuntu desktop, whether for gaming, creative work, or general use.
Recommended Clients
- Moonlight for macOS: moonlight-stream.org
- Moonlight for iPad/iPhone: Download from App Store
- Moonlight for Windows: moonlight-stream.org
Sunshine gives you Parsec-like performance without needing Windows — the perfect solution for a powerful Linux mini PC.
Leave a reply
Loading comments…